Blue hour offers one of the best chances to turn ordinary scenery into magical images. It’s the short window where everything seems to glow with soft, cool light. Many photographers chase this moment because it creates dreamy, otherworldly scenes you can’t find at any other time of the day. If you want to master landscape photography during blue hour, this is your perfect starting point.
Understanding Blue Hour: Timing, Conditions, and Characteristics
What is Blue Hour?
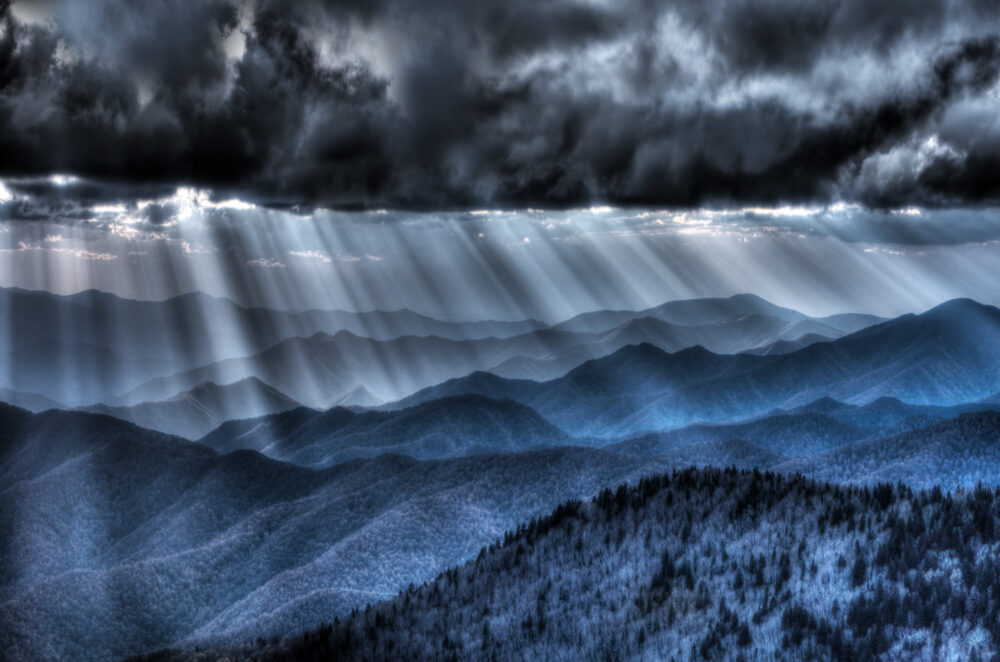
Blue hour is that quiet time just before sunrise or right after sunset when the sky turns a deep blue. This isn’t just your regular evening or morning light. It happens because the sun is below the horizon, but its light still paints the sky with a blue hue. The distinctive colour of the sky during the blue hour comes from red light being absorbed by ozone in the upper atmosphere. The effect is calm, cool and full of mystery.
There are three types of twilight:
- Civil twilight – when enough light for activities without extra lighting
- Nautical twilight – when the horizon is still visible at sea
- Astronomical twilight – when the sky is dark enough for astronomers to observe stars clearly
Ideal Times for Blue Hour Photography
The name ‘blue hour’ is a little disingenuous. The exact length and timing depends on your location and the time of year, but don’t expect it to be an hour! Near the equator, blue hour is shorter; near the poles, it can last longer. At the equator the transition between night and day happens very quickly, regardless of the time of year. As latitudes increase for northern locations (or inversely for southern hemisphere locations) the time taken to make the change from night to day also increases. So what could be a 15 minute blue hour at the equator would be about 40 minutes in New York City. Use apps or websites that track twilight times to plan your shoot for the best results. A simple web search will yield a multitude of websites that can deliver specific times for specific location. We always use a specific location when checking sunrise and sunset times. Or even a twilight calculator like this one or this one.
Visual and Technical Characteristics
During blue hour, the scene is painted with colours from deep indigo to subtle warm hints. The low light makes your camera focus tricky, so you’ll want to use a tripod and slow shutter speeds. Expect to deal with noise and tricky white balance – patience and settings are key.
Preparing for Blue Hour Landscape Photography
Equipment Essentials
Crucial gear includes:
- A sturdy tripod to keep your camera stable.
- A wide-angle lens to capture vast landscapes.
- Remote shutter release or timer to avoid shake.
- Filters like ND filters for long exposures.
- Lens cleaning kit – dust or smudges ruin shots.
Planning and Scouting Locations
Use apps like PhotoPills to know when blue hour starts. Scout locations ahead of time to find interesting foregrounds, water reflections or dramatic architecture. The best images often feature a point of interest that complements the sky’s colour.
Camera Settings and Shooting Techniques
Set your ISO as low as possible to keep noise down. For a lot of cameras that will iso100, but some may have the option to go as low as iso64 or iso50. This is where the manual and knowing your camera is key! Use a narrow aperture (f/8 to f/16) for sharpness. Shutter speeds vary but expect several seconds for proper exposure. Bracketing your shots helps get the perfect exposure, especially if you plan to create HDR images. Manual focus may be required in low light conditions and focus stacking can help get everything sharp, from foreground to background.
Techniques for Capturing Stunning Blue Hour Landscape Photos
Composition Tips
Place interesting elements in the foreground to lead the eye through your photo. Use leading lines – like roads, rivers, or fences – to draw attention. Try to balance the bright and dark areas, creating a mood rather than overly bright scenes. Reflections on water can add depth and make your photo more eye-catching.
Post-Processing Strategies
Boost colours subtly to emphasize the blue and warm hues. Be careful not to overdo it – authenticity matters. Noise reduction tools clean up low-light noise but avoid losing details. Adjust white balance settings to keep colours natural, especially if your camera tends to shift blue into purple. And to reinforce the point, try not to over-process!
Creative Innovation
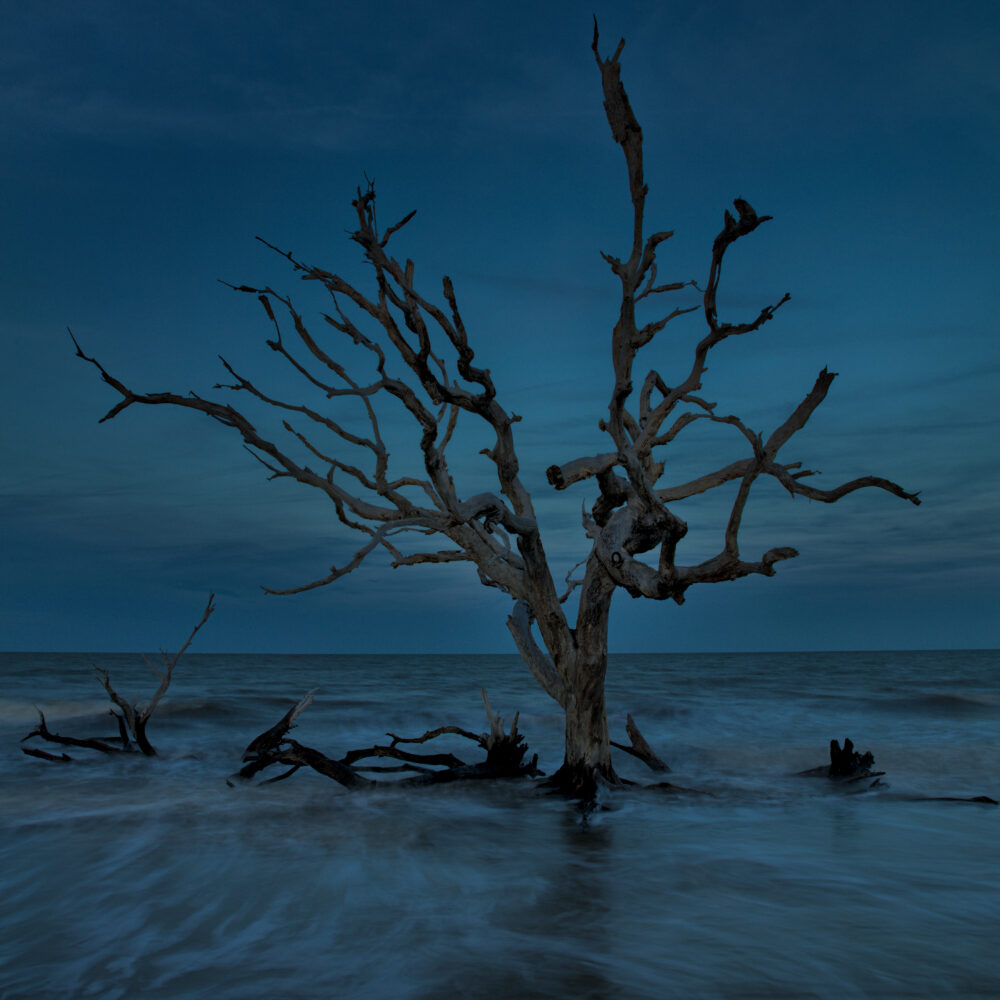
Long exposures blur motion, turning moving clouds or water into silky smooth textures. Light painting or adding small artificial lights can give your scene a fresh look. Silhouettes of trees or buildings against the blue sky add drama and mystery. ICM, or Intentional Camera Movement, will achieve a blurred abstract or pastel water colour effect. It’s not something MrsFaceless or i do….well…not the intentional bit, anyway!

Real-World Examples and Case Studies
Some of the most stunning blue hour photos combine water reflections with city skylines or natural landscapes. Remember, professional photographers often arrive early, wait patiently, and shoot multiple times. They focus on small details—like the way light hits a building or a rippling reflection—to make a photo stand out. Little things really do make the difference.
Expert Tips and Best Practices
Timing is everything. Be early, stay late, and keep your camera ready. Weather plays a part—clear skies produce more vibrant colours. Practice often and analyze your images afterward to improve. In low-light conditions, always prioritize safety. Stay aware of your surroundings, especially when navigating unfamiliar areas at night.
Patience can’t be overstated. Sometimes the perfect shot appears after waiting or trying different angles. The best blue hour photos come from a mix of planning, flexibility, and a keen eye for beauty.
Conclusion
Landscape photography at blue hour is the photographer’s playground. Its soft, enchanting light turns simple scenes into captivating works of art. Be prepared, plan your shoot and don’t shy away from experimenting. Not to stress the point, but planning is key – especially if you are arriving in the dark! Your next great photo could be just before sunrise or right after sunset when the world around you glows with quiet magic. So, set your alarm, grab your gear, and start capturing those unforgettable twilight moments.
A Selection Of Guide Articles
Using Reflections In Landscape Photography
We look at how to best use reflections in landscape photography as the method to add symmetry to you compositions
Adapting A Vehicle For Landscape Photography
We talk about the thought process and steps we took to make life easier when adapting a vehicle for landscape photography
RAW Format Photography
Understanding Camera RAW format files and why they are best for photographers wanting optimal image quality and processing flexibility
Mastering Exposure
Mastering exposure requires understanding of the three principal mechanisms: shutter speed, aperture size, and the photographic material's level of sensitivity to light (ISO)
Essential Filters for Landscape Photography
Read about the essential filters for landscape photography to make your life easier and take your images to the next level
How To Photograph Winter Landscapes
How to photograph winter landscapes, gear, what you need to consider and understanding the how snow affects light
Planning A Photography Roadtrip
A guide to planning a photography roadtrip. How to find locations, what to pack and tips to get the most from your trip
Create Dramatic Landscape Photos
Luck, light, skill and perseverance are just some of the facets needed to create dramatic landscape photos